
Managing Academic Data: Classes, Students, Subjects
Set up your academic foundation in Aerish: academic year, classes, students, subjects, rooms, and promotion.
Keeping clean student data is the foundation of every academic process in a pesantren or school. This guide is for administrators and academic operators who use Aerish Pesantren Digital and want to set up the academic year, class master data, subjects, and the student class promotion process in a structured way. If this is your first time filling in academic data, follow the steps below so that other modules such as schedules, attendance, and grading can run without obstacles.
Aerish treats academic data as interconnected master data: the academic year defines the active period, classes hold students, subjects guide learning, and class promotion moves students to the next level. Because many modules depend on this data, accuracy at the start saves a lot of correction time later.
Prerequisites
Before you begin, make sure the following are ready:
- An admin account with access to the Academic module.
- The list of academic years and semesters your school will use.
- The grade and class structure (for example grades 7, 8, 9 or MTs/MA levels).
- Initial student data, from admissions (PSB) or manual records, ideally in a spreadsheet.
- A list of subjects along with their grouping (general, religious, local content).
- Room or dormitory information if your pesantren manages student placement.
Step 1: Set the Active Academic Year
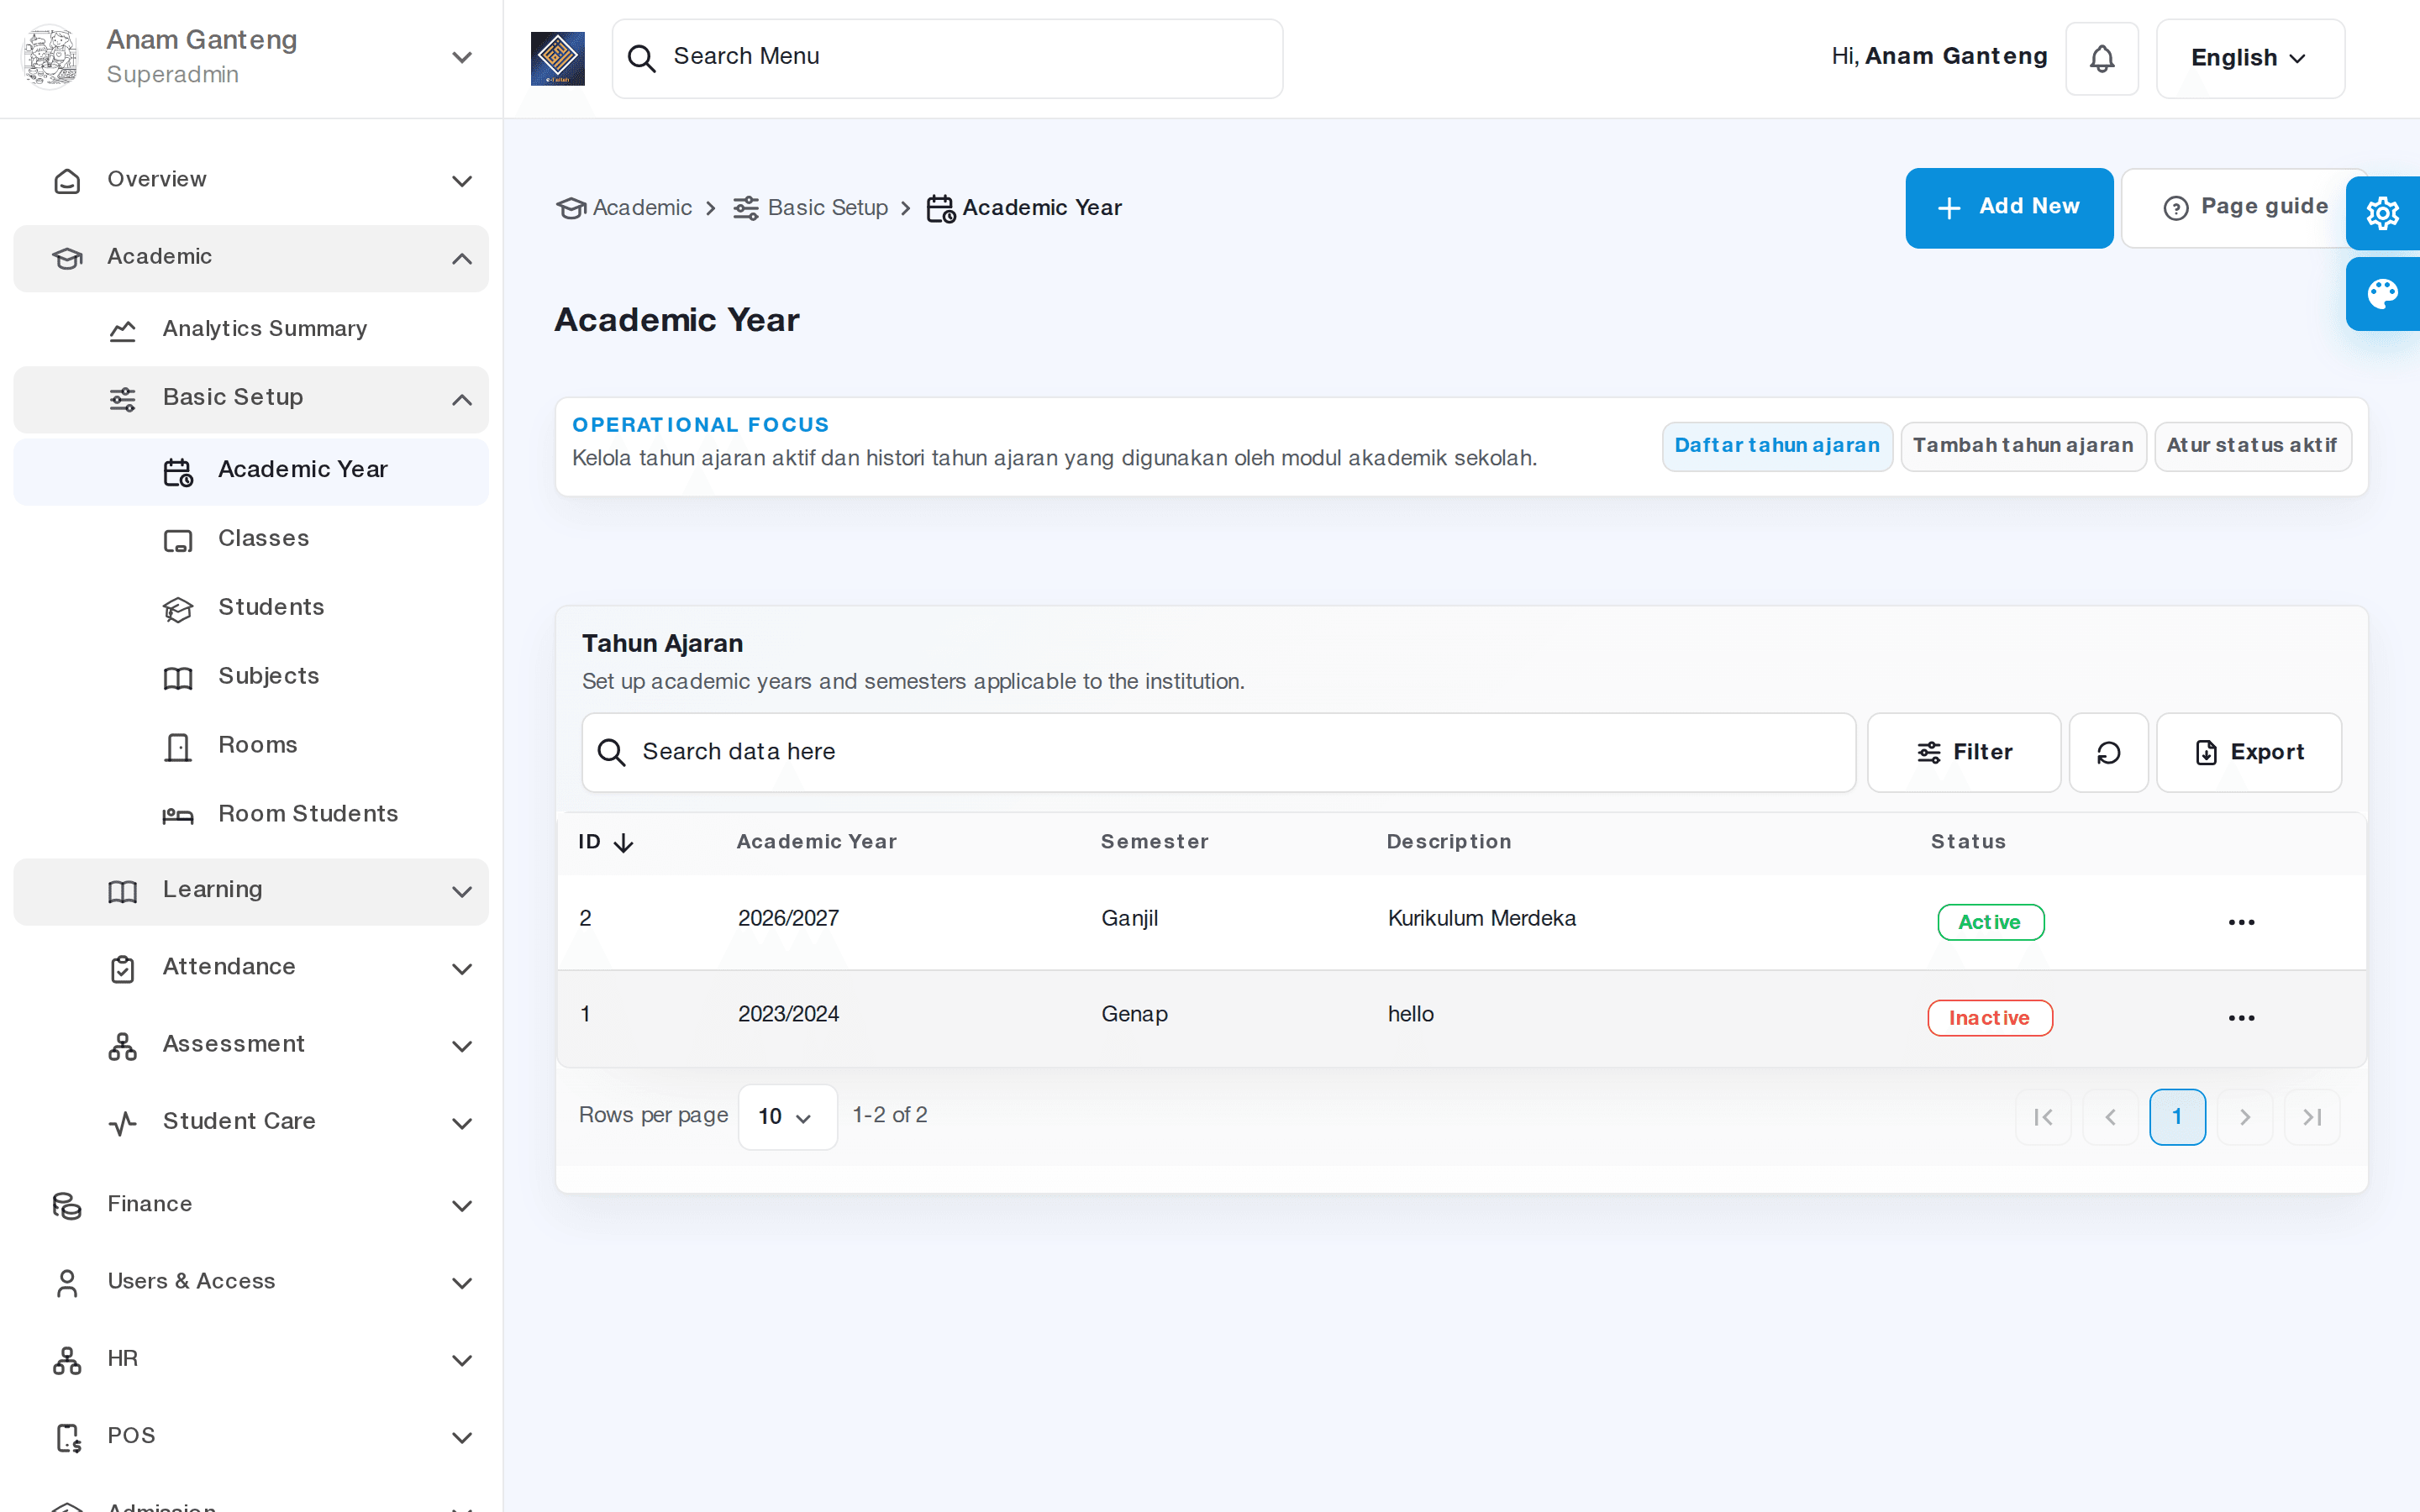
All academic data is tied to an academic year. Therefore, creating and activating the academic year is the first mandatory step before filling in classes or students.
- Open the Academic Year menu at /admin/academic-year.
- Click add, then enter the period name (for example 2025/2026), start date, and end date.
- Set the active semester (odd or even) according to the academic calendar.
- Save, then mark that academic year as active so it becomes the default reference for all modules.
Only one academic year should be active at a time. Deactivating old periods helps prevent recording grades or attendance into the wrong period.
Step 2: Build the Class Master Data
Once the academic year is ready, build the class master data as a container for students. Classes form the basis for lesson scheduling, homeroom teacher assignment, and grade grouping.
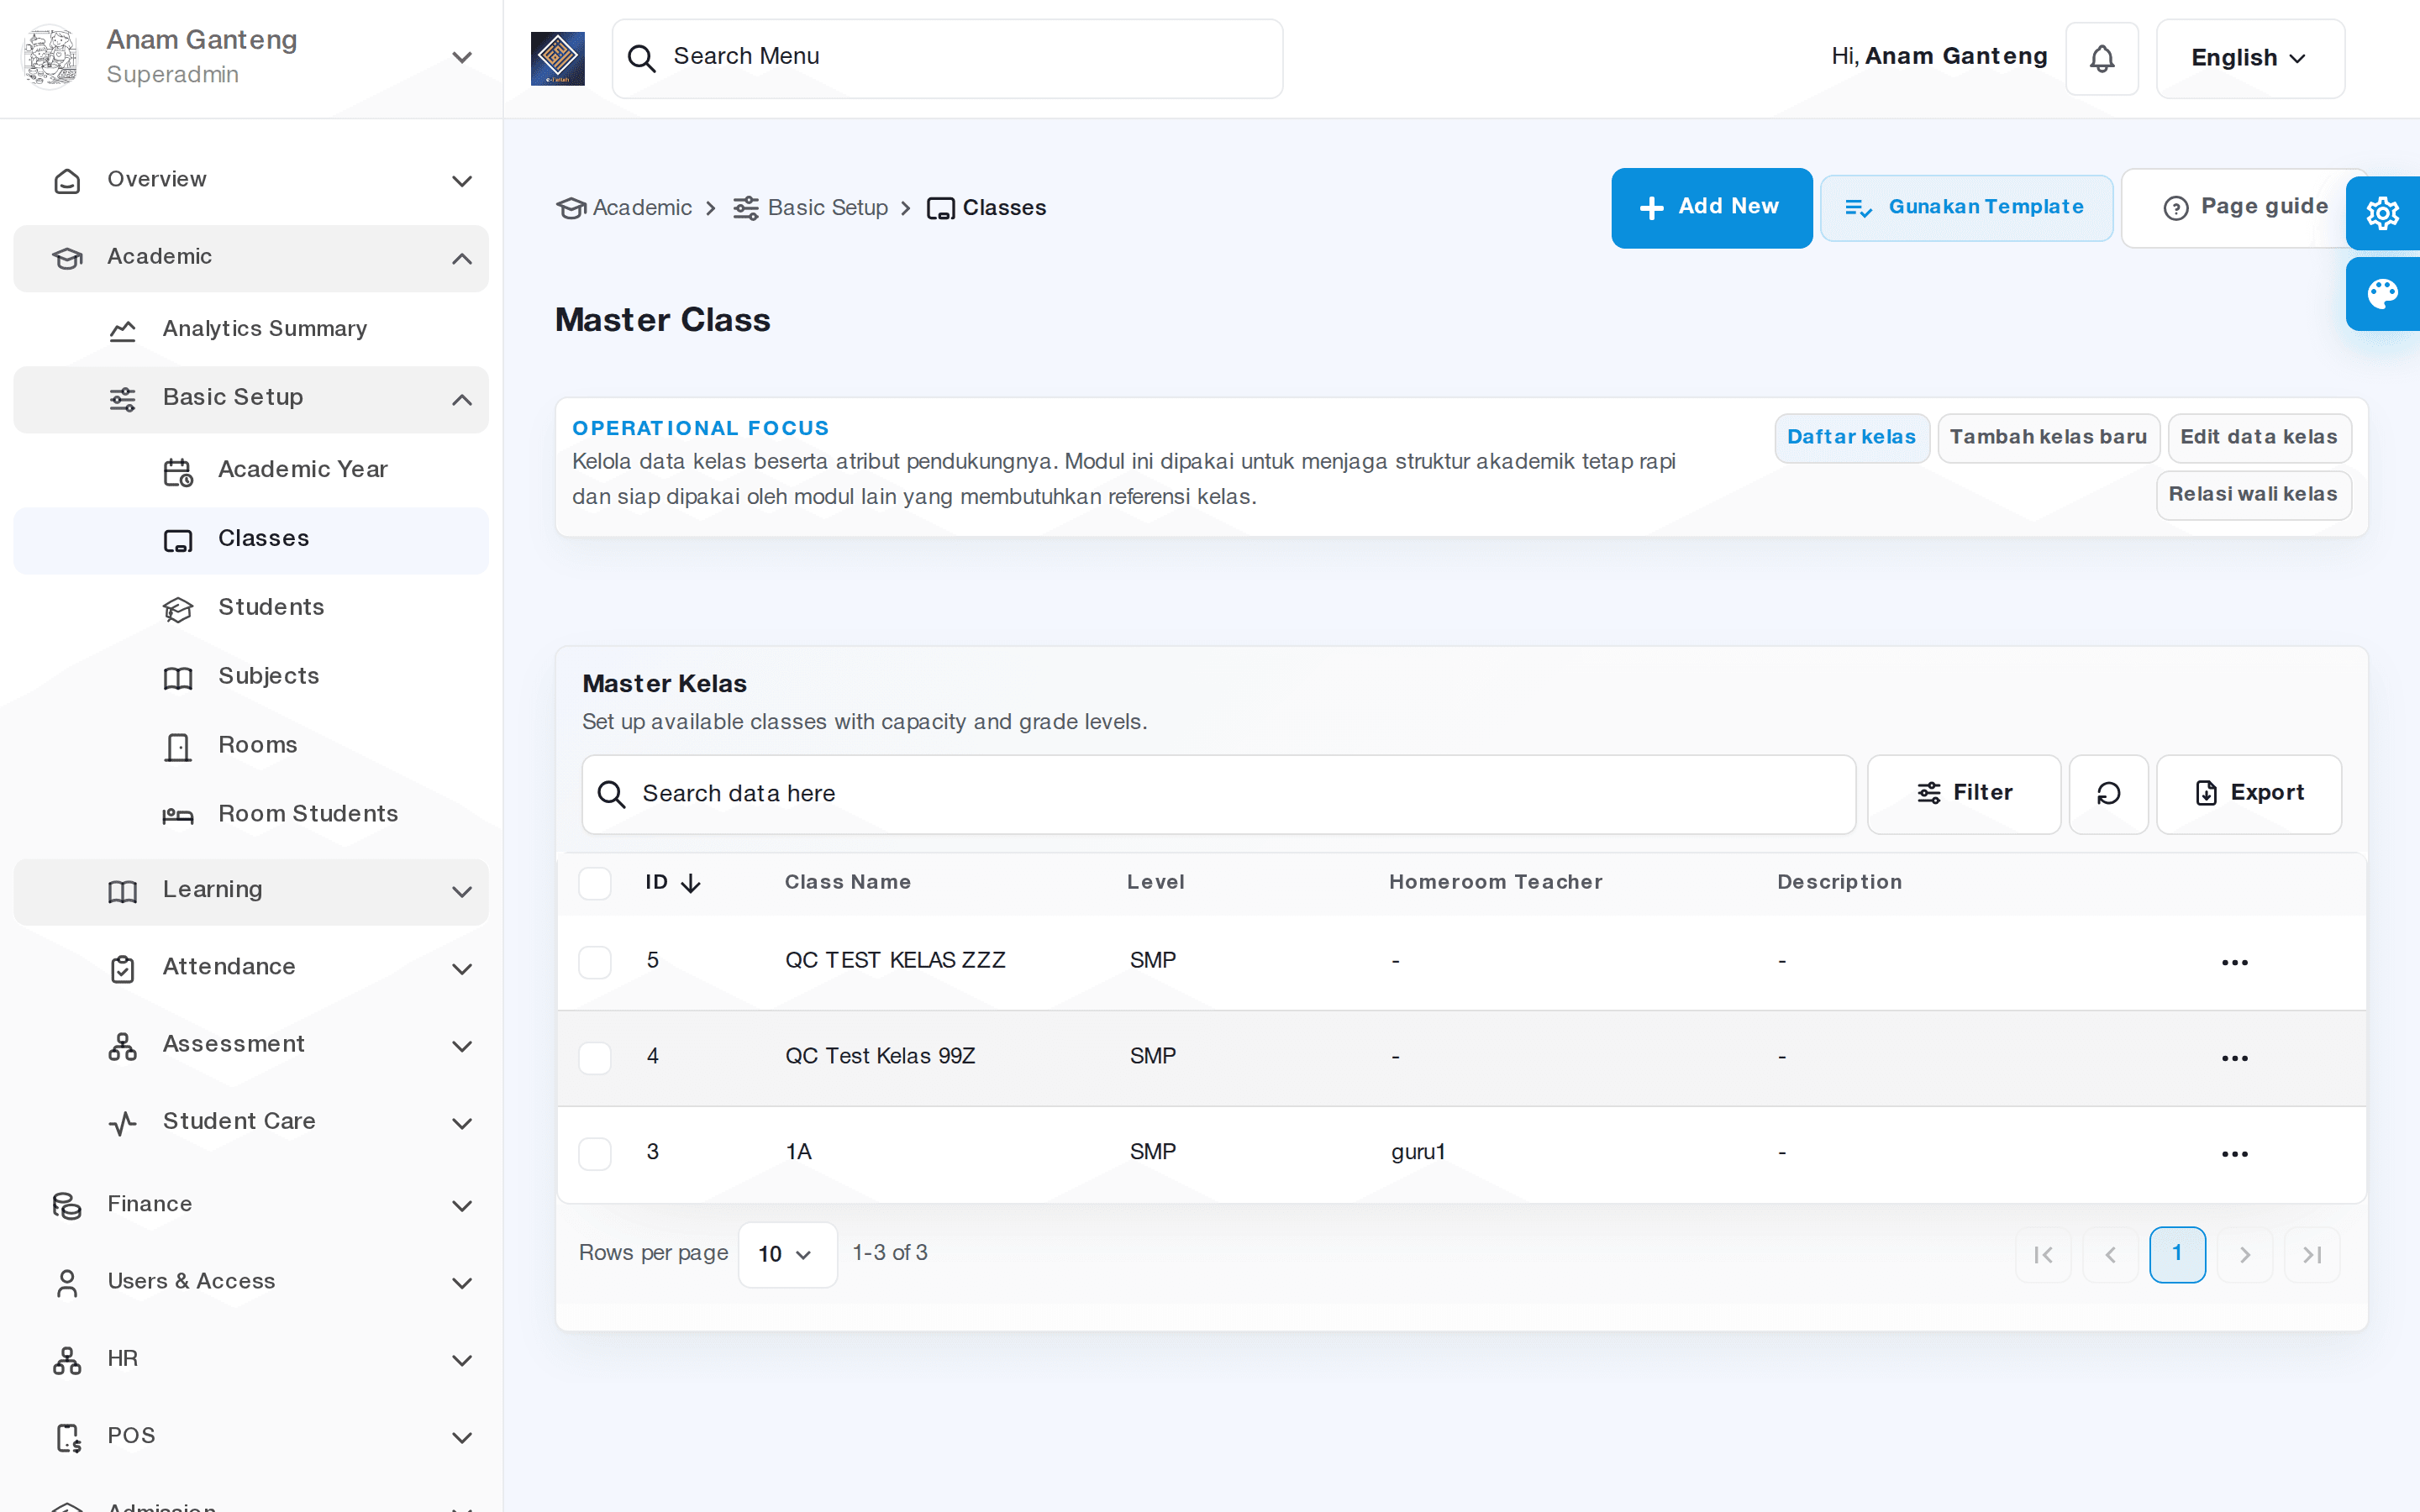
- Enter the Classes menu at /admin/master-class.
- Add a new class by entering the class name (for example 7A, 8B), level, and major if any.
- Assign a homeroom teacher from the available teacher list.
- Set the maximum class capacity so student placement stays controlled.
- Repeat for each class in the active academic year, then save.
Consistent class naming helps a lot when you manage many study groups. Use the same pattern at every level so it reads clearly in reports and schedules.
Step 3: Register and Place Students
The core of the academic module is student data. Aerish lets you register students one by one or import them in bulk, then place each into the appropriate class.
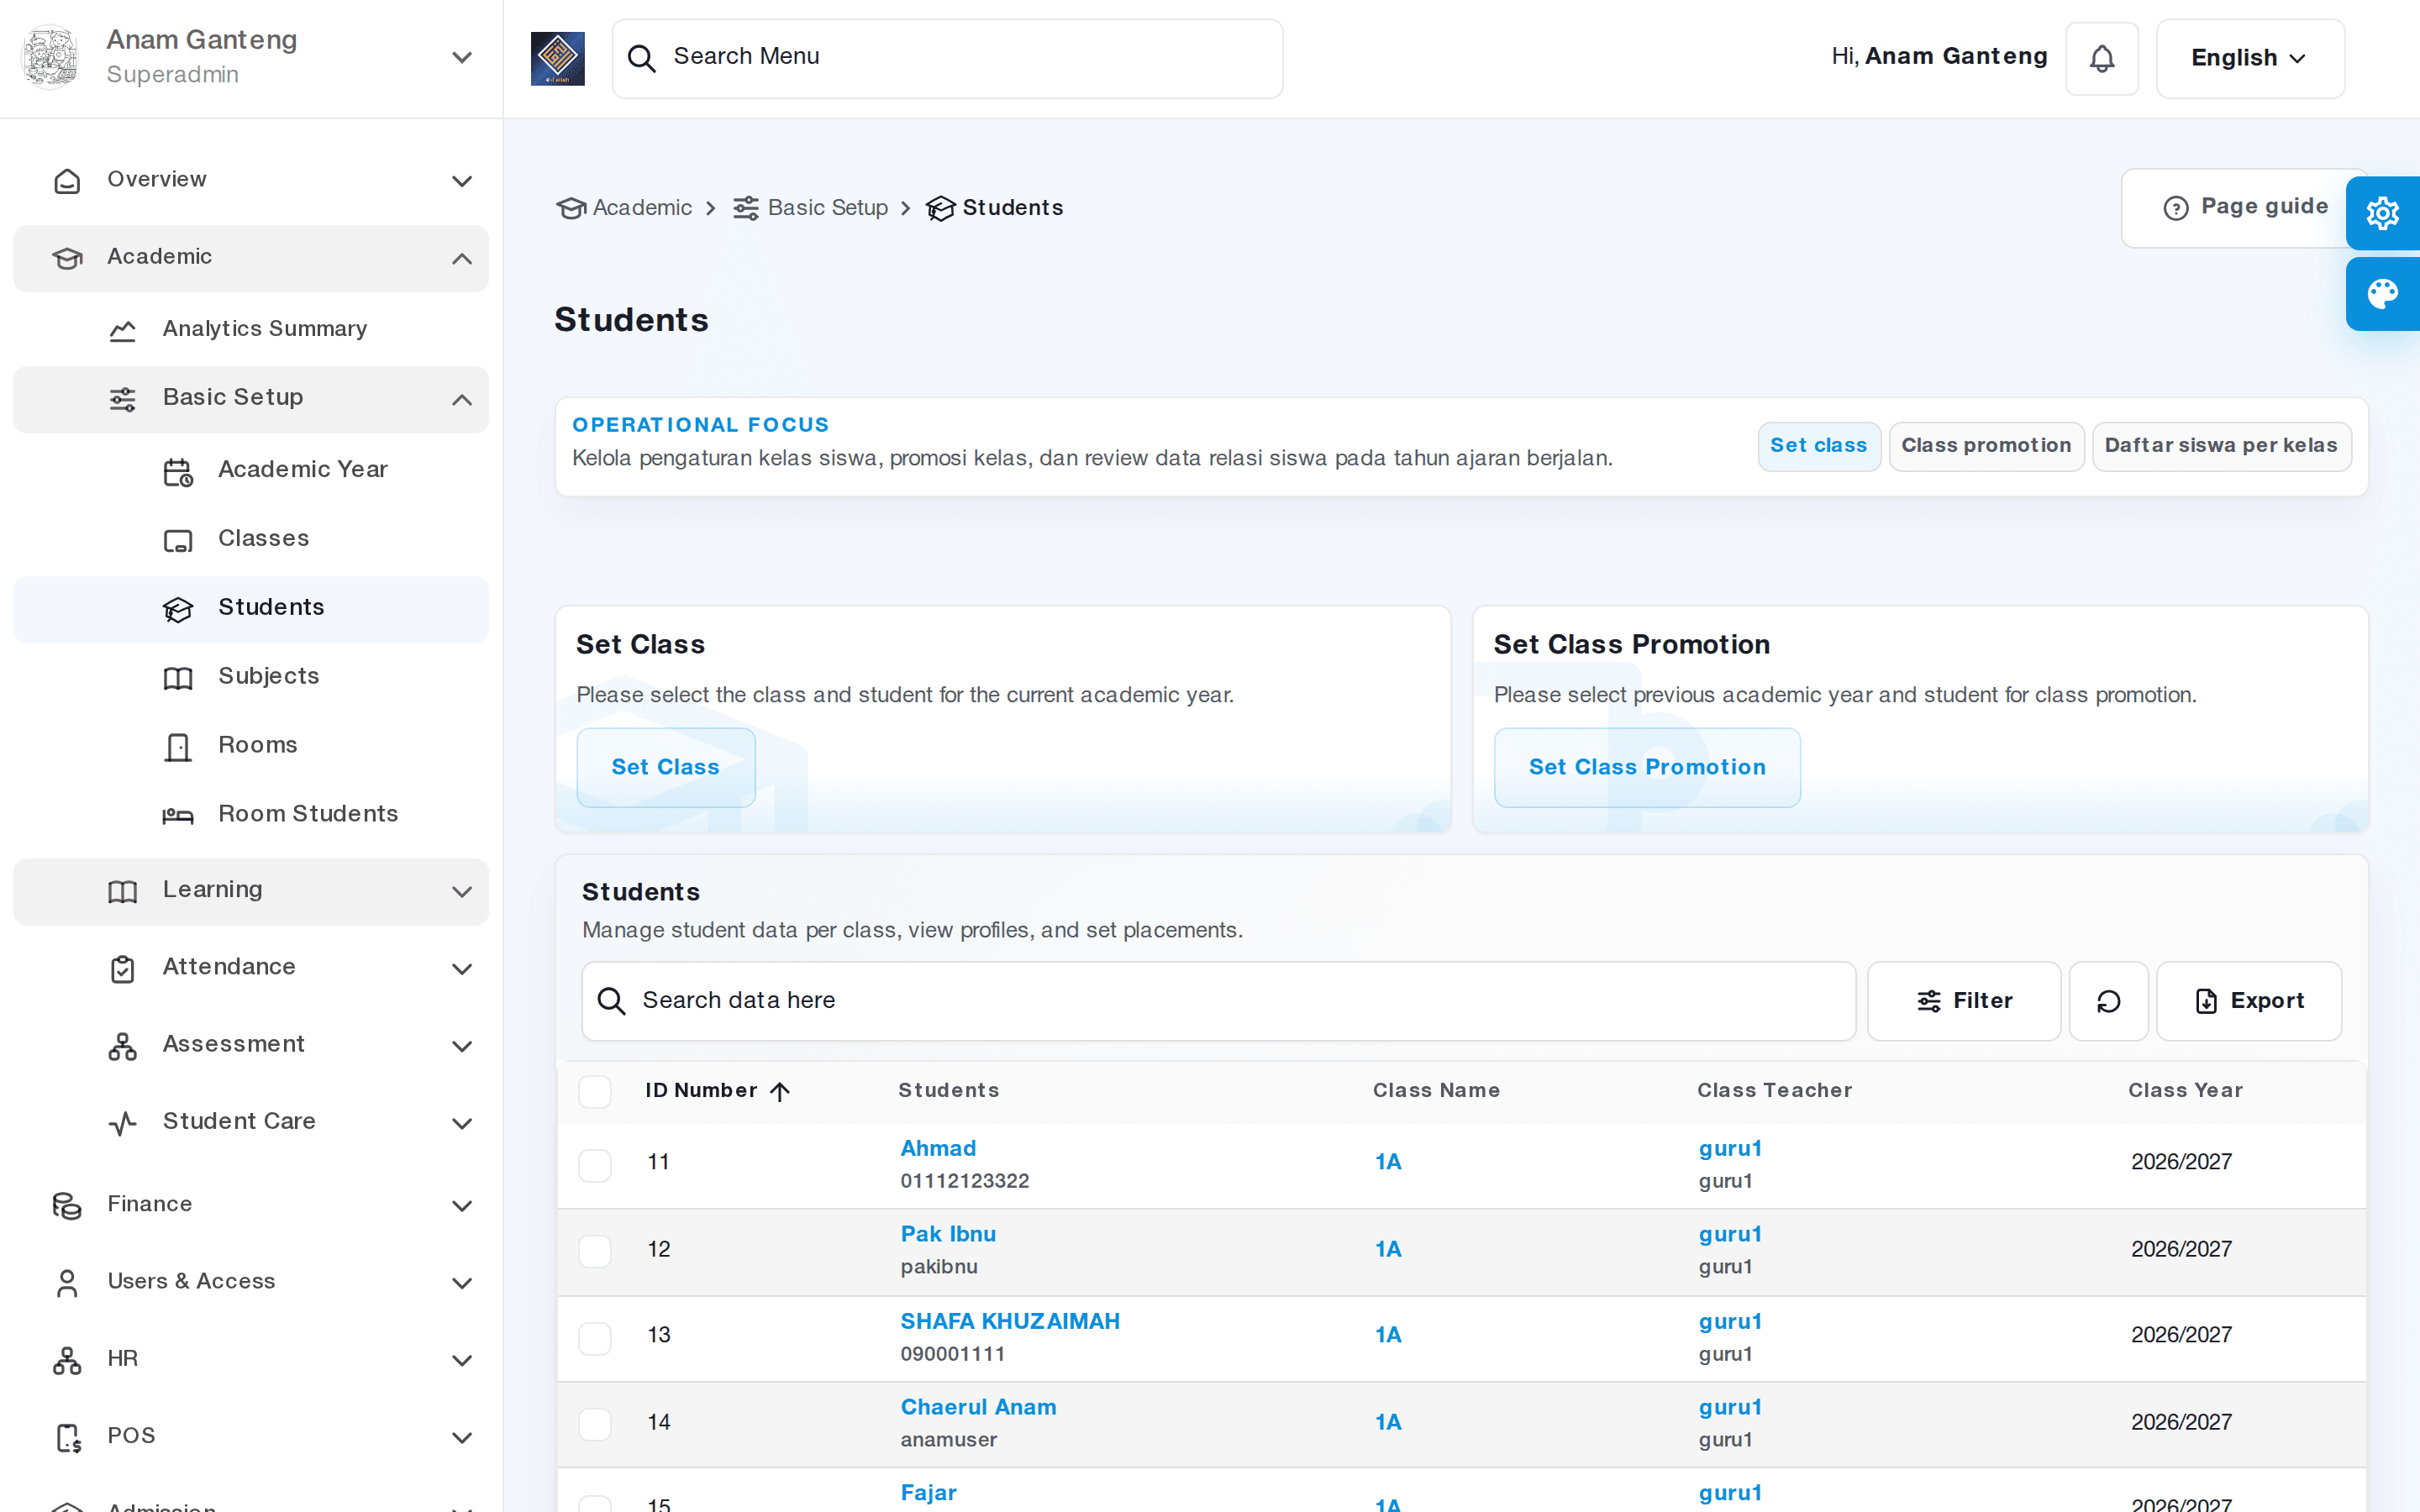
- Open the Students menu at /admin/students.
- Use the import button to upload data from a spreadsheet, or the add button for manual registration.
- Complete the profile: name, student ID (NIS/NISN), date of birth, guardian name, and contact.
- Place the student into a class created in the previous step.
- If your pesantren manages dormitories, set room placement through the room/dormitory feature (room-students) available in the student data area.
Make sure the NIS or NISN is unique for every student. Clean identity numbers make it easy to match data when importing grades, bills, and attendance.
Step 4: Manage Subjects
Define all the subjects that are taught so they can be scheduled and graded. Subjects are an important reference for the schedule and grading modules.
- Open the Subjects menu at /admin/master-subjects.
- Add a subject with a code, name, and group (general, religious, or local content).
- Link the subject to the relevant level or class when needed.
- Save and review the list to avoid duplication.
A tidy subject grouping makes it easier to compile report cards and distribute teaching hours among teachers.
Step 5: The Class Promotion Process
At the end of the academic year, use the class promotion feature to move students to the next level in bulk without re-entering each one.
- Open the Class Promotion menu at /admin/students/class-promotion.
- Choose the source and target academic year.
- Select the source class, then set the target class for students who are promoted.
- Mark students who repeat a grade or graduate so they are not promoted.
- Confirm and run the process, then verify the placement result in the Students menu.
Run this process after final grades and report cards are complete so that promotion decisions are final.
Tips & Best Practices
- Finish filling in the academic year and classes before importing students so placement is correct immediately.
- Use the official import template from the app to avoid column format errors.
- Apply a consistent class naming and subject code convention across the whole school.
- Back up or export student data periodically before bulk processes such as class promotion.
- Verify the number of students per class after import to make sure no data is missed.
Troubleshooting
| Problem | Likely Cause | Solution |
|---|---|---|
| Students do not appear in a class | Academic year not active or class placement empty | Activate the academic year, then re-place students in the Students menu |
| Student import fails | Column format issue or duplicate NIS | Use the official template and ensure NIS/NISN is unique |
| A subject cannot be scheduled | Subject not linked to a level/class | Open Subjects and complete the association |
| Class promotion promotes the wrong students | Repeating students not marked | Repeat the process and mark exceptions before running |
FAQ
Can I activate more than one academic year at once?
It is best not to. Activate only one academic year as the default reference so that grades, attendance, and billing records do not mix between periods.
How do I import a large number of students?
Use the import feature in the Students menu with the official spreadsheet template. Make sure the NIS/NISN, name, and class columns are correct before uploading.
Is dormitory room placement mandatory?
It is not mandatory for all schools. The room/dormitory feature is useful specifically for pesantren that manage resident students and can be set from the student data area.
What happens to student data after class promotion?
Students are moved to the target class in the new academic year, while the previous class history remains stored so report cards and historical data are not lost.
Can I add subjects in the middle of an academic year?
Yes. Add new subjects in the Subjects menu at any time, then link them to the relevant classes so they can be scheduled and graded.
Related menus in the app
- Tahun Ajaran — create and activate the academic period that all modules reference.
- Kelas — build class master data, homeroom teachers, and study group capacity.
- Siswa — register, import, place into classes, and manage student rooms.
- Mata Pelajaran — define subjects and their grouping.
- Kenaikan Kelas — process bulk class promotion at the end of the academic year.